What to do after installing Kubuntu?

In the last tutorial, we installed Kubuntu 22.04. We need to do some post-installation work before we can start installing different Hypervisors and emulators. So let's start.
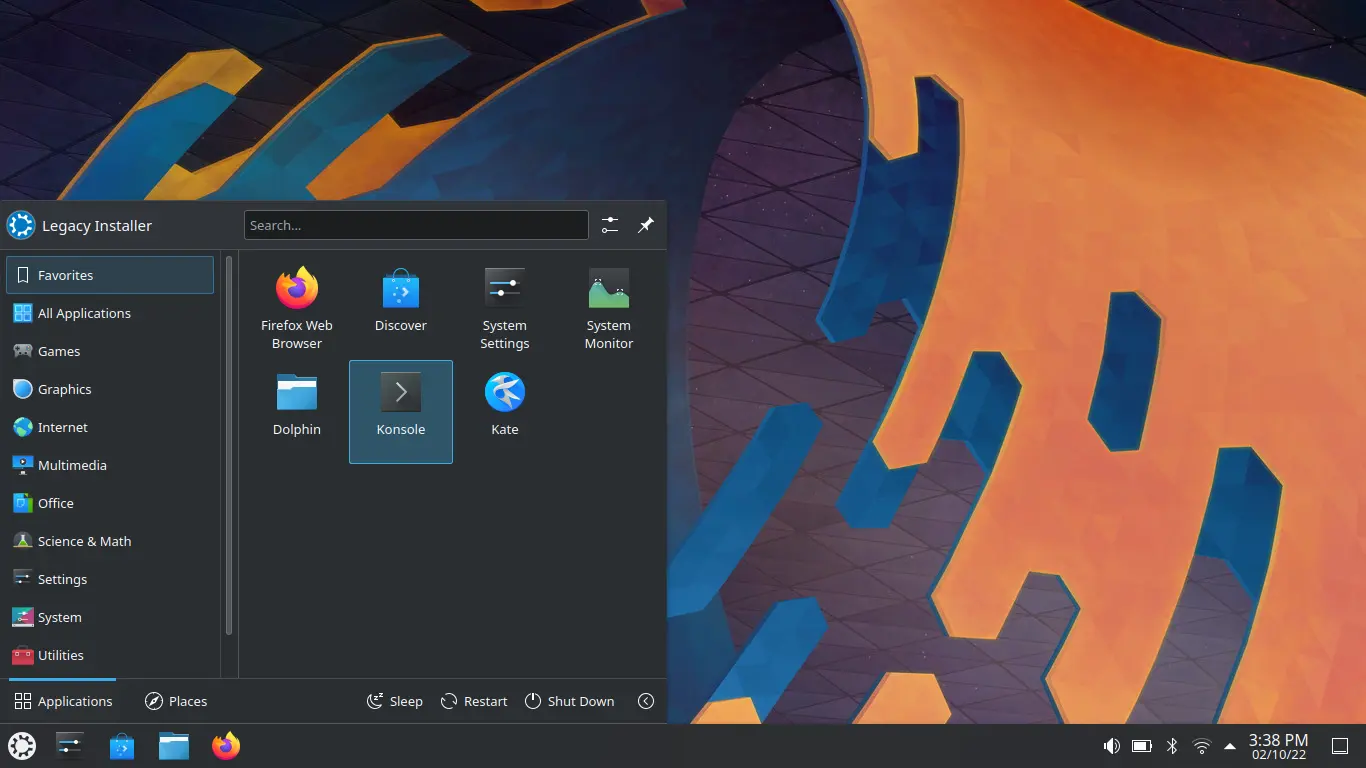
There are GUI ways of doing the following things in Kubuntu, but the command line is much more stable. We will use the command line in this tutorial. You need to start Konsole first. Click on the "Start Menu" in the bottom left of the screen, then click on Konsole to open it. Kubuntu is much similar to Windows in its desktop layout, so you should be comfortable using it.
Installing Updates
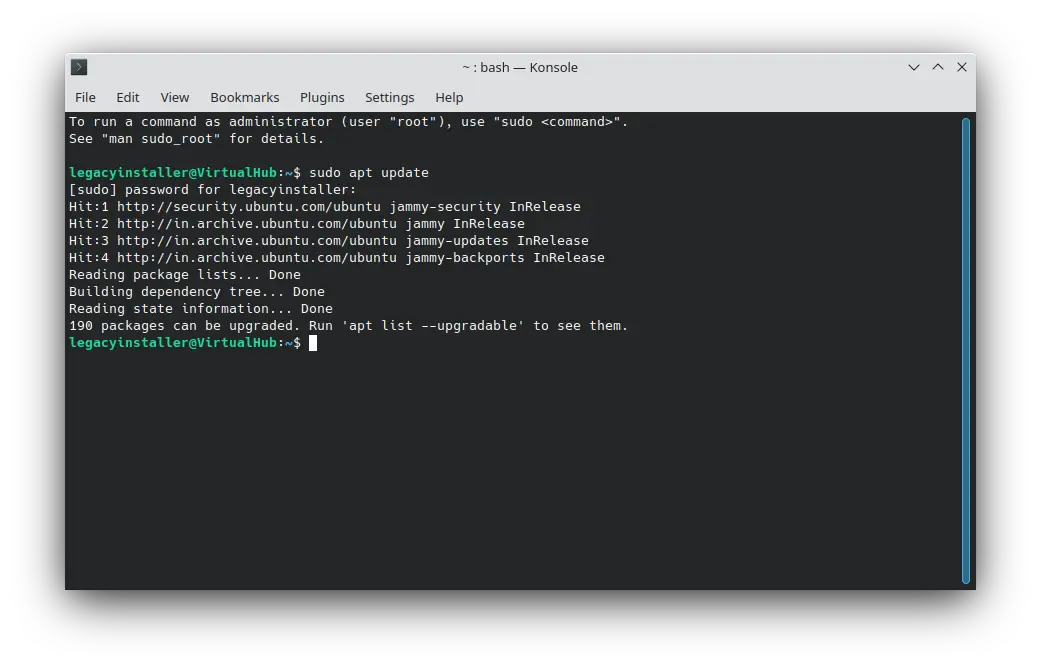
First, we should install the available updates. To fetch the list of updates, run the following command:
sudo apt update
Enter your password when asked.
To perform the upgrade, run:
sudo apt upgrade
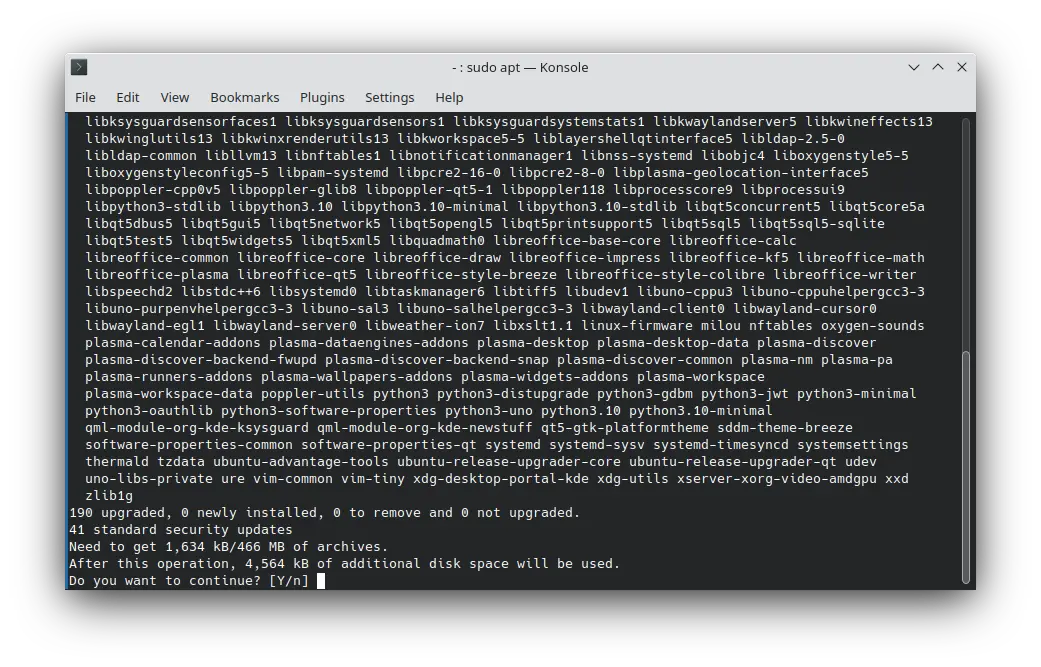
Press Y and then press enter to start the upgrade.

It will take time to upgrade, depending on your internet speed and the time elapsed since the release of the ISO file you used to install Kubuntu. Don't worry. Every upgrade does not take so long. If you update daily, it should take less than a minute.
After the update is done, you should reboot if there was a kernel upgrade. If you are not sure, reboot anyway.
Updating Snap packages
Snap packages should update automatically in the background, but if you want them to update now, run this command:
snap refresh
A window will pop up asking for your password. Enter it and click on OK.
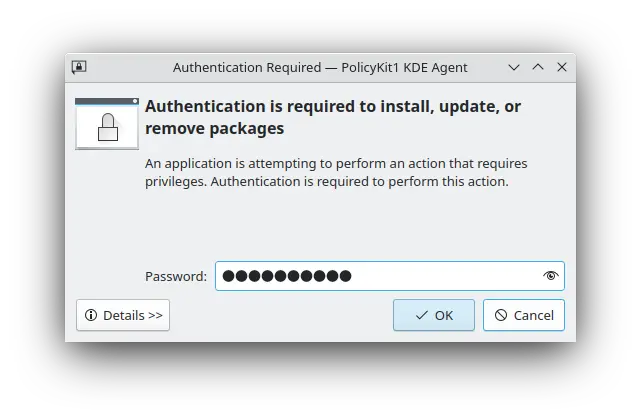
The snap packages will start to update.
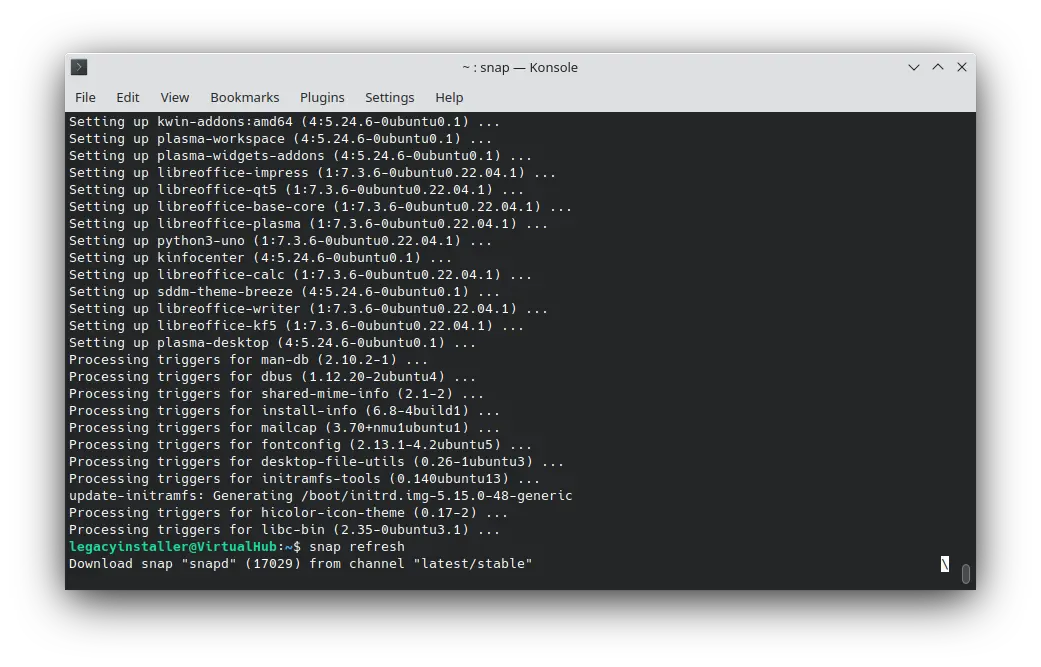
It will take some time, depending on your internet speed.
Installing restricted packages
We installed most of the restricted codecs when we ticked the "Install third-party software". But there are some more packages. Also, we will install Microsoft fonts so that some of the documents look better. To install these, run the following command:
sudo apt install kubuntu-restricted-extras
Enter your password when asked to do so. When asked for confirmation, press Y and then press enter. The installation will start. After some time, the following screen will open:
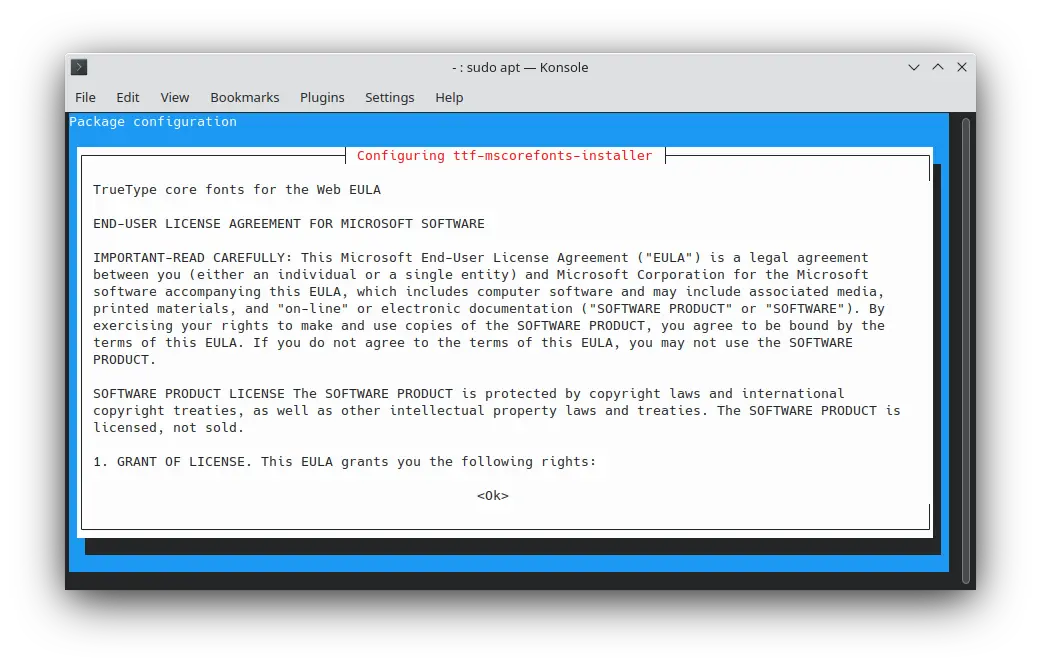
Press TAB key and then press enter. The following screen will open:
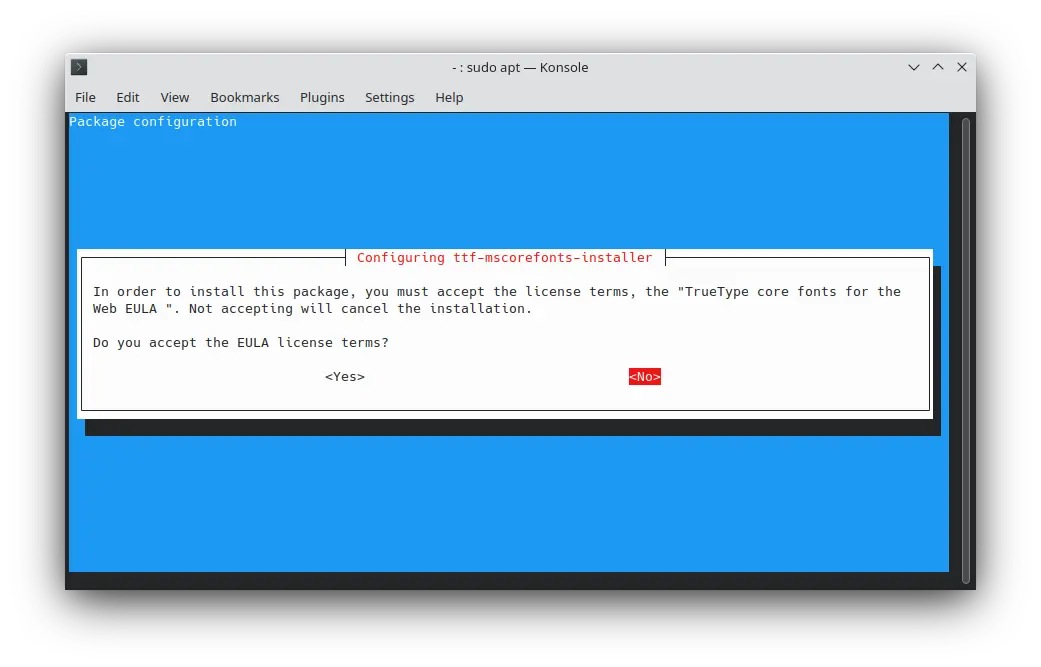
Press the left arrow key to move to Yes then press enter. The installation will continue. It takes a long time to download Microsoft fonts from SourceForge, so sit back and relax.
Installing Flatpak
Many emulators that we will install come as Flatpak packages. So, we will install Flatpak support on Kubuntu. To do so, run:
sudo apt install flatpak plasma-discover-backend-flatpak
This will install Flatpak and configure Discover for Flatpak.
Now we need to add Flathub repository to Flatpak. To do so, run:
flatpak remote-add --if-not-exists flathub https://flathub.org/repo/flathub.flatpakrepo
Enter your password when asked to do so. After it is done, restart your system. That's it. We enabled Flatpak support.
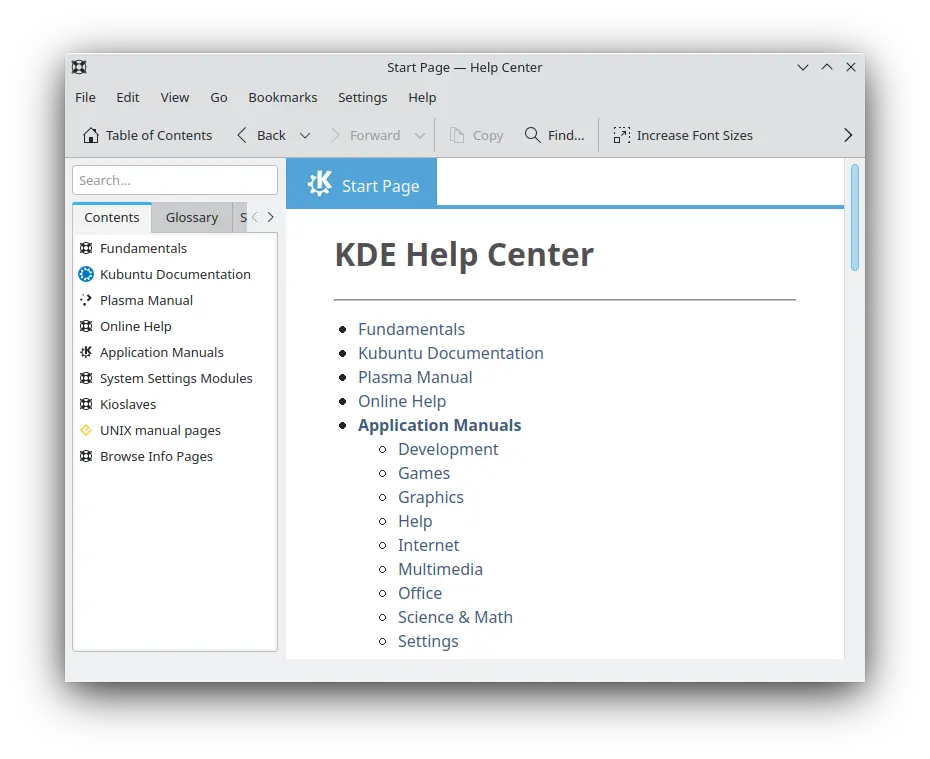
Explore the system
Now we have completed the post-installation setup. Explore the plasma desktop and learn new things. You can refer to the User Manuals if you want. To access the User Manuals, start the application called "Help" and choose the required manual from the left sidebar.
Video tutorial
Do you want to follow the tutorial by watching a video? Here it is:
Archives of this tutorial are available on Wayback Machine.
Tell us about your experience of this page on Discord. Or, just come and chat with us about old software. Join and say “Hi!”:
