How to install Kubuntu?

In the last tutorial, we prepared a Kubuntu installation media. We will use it in this tutorial to install Kubuntu. If you have not prepared the installation media yet, please see the last tutorial.
First, insert the installation media pen drive which you created in the last tutorial in your system. Then reboot your computer.
As the computer boots, press the function key, which opens the system-specific boot menu. F12 is the most common key for bringing up your system’s boot menu, but Escape, F2 and F10 are common alternatives. If you’re unsure, look for a brief message when your system starts – this will often inform you of which key to press to bring up the boot menu. If no such message is shown, check your device documentation. When the boot menu appears, choose to boot from the pen drive.
After the system boots from the pen drive, select "Try or Install Kubuntu" from the list that is shown. Wait for some time as the system boots. You will see the following screen after the system boots properly.
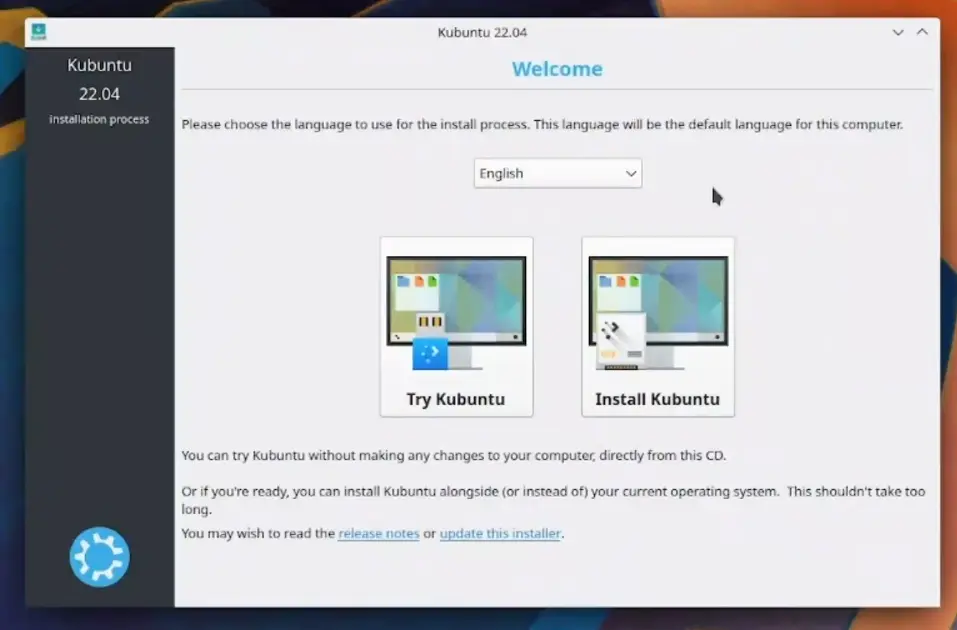
Click on Install Kubuntu to start the installation.
Keyboard layout
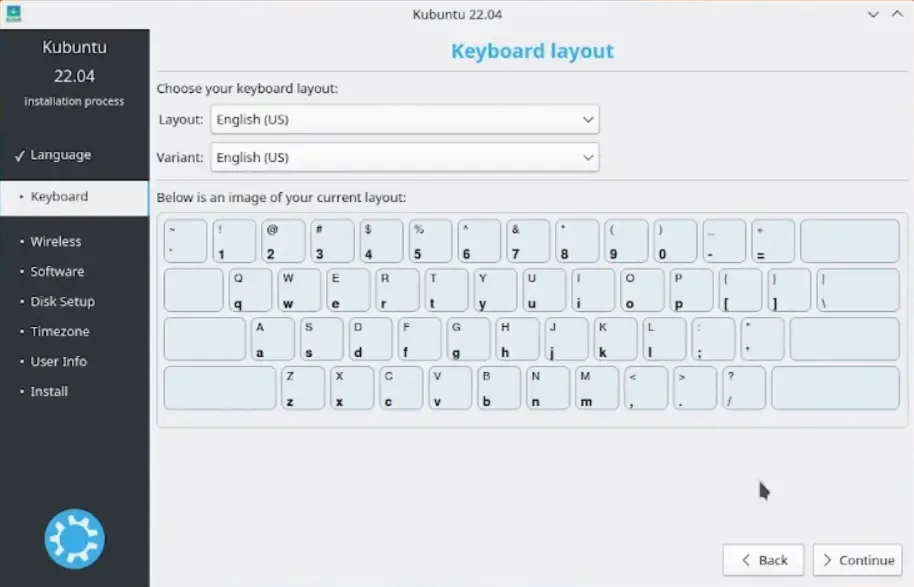
Choose your desired keyboard layout and click on Continue.
Wireless
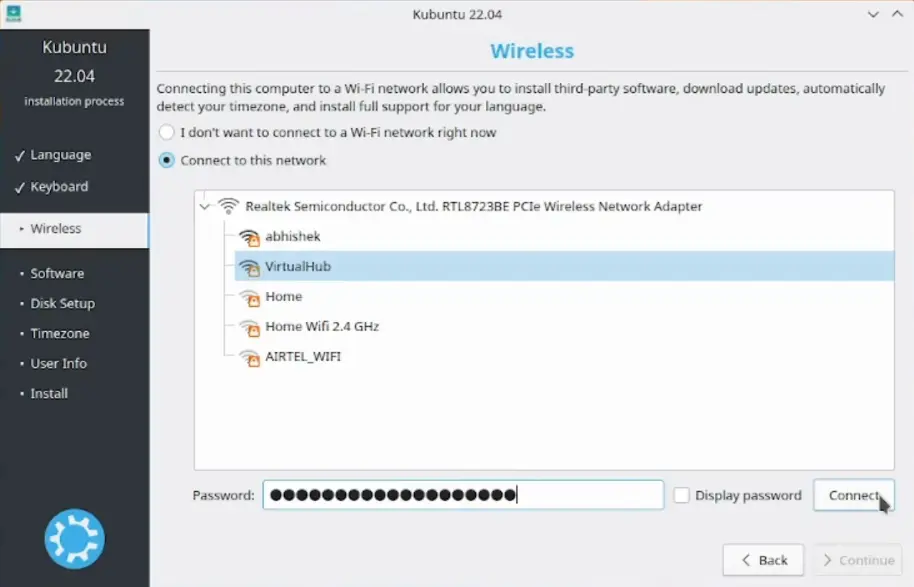
Click on "Connect to this Network" and then connect to your Wi-Fi. If you have a wired connection, then you can leave this step. Click on Continue.
Updates and other software
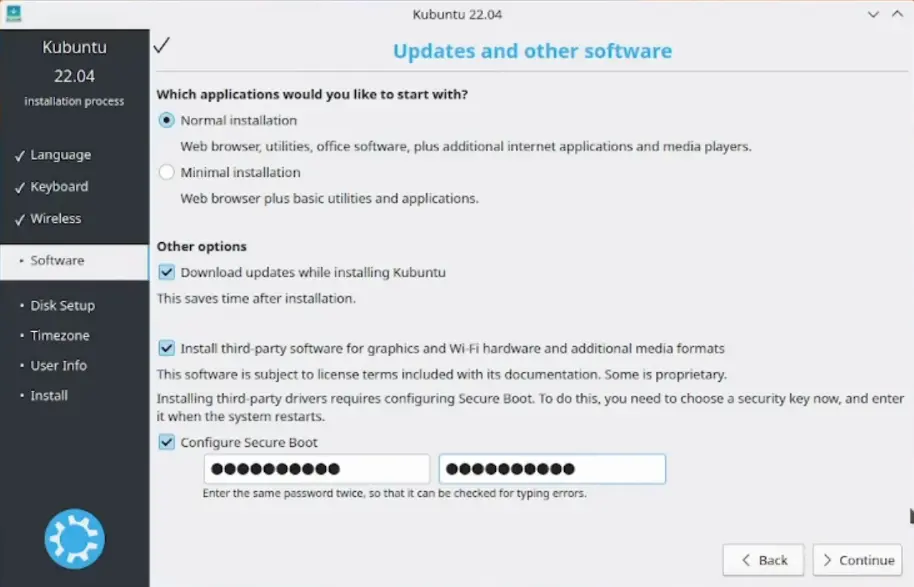
Select “Install third-party software” and “Configure Secure Boot”. Enter a password for configuring Secure Boot and write it down somewhere. Click on Continue.
Installation type

The default should be to dual-boot with Windows. It will resize your Windows partition (C:) to make room for Kubuntu. It should be the best option, but if you want to do something else, you are free to do so. Click on Install Now.
It will ask you for confirmation twice. Make sure everything is correct and then click on Continue.
Where are you?
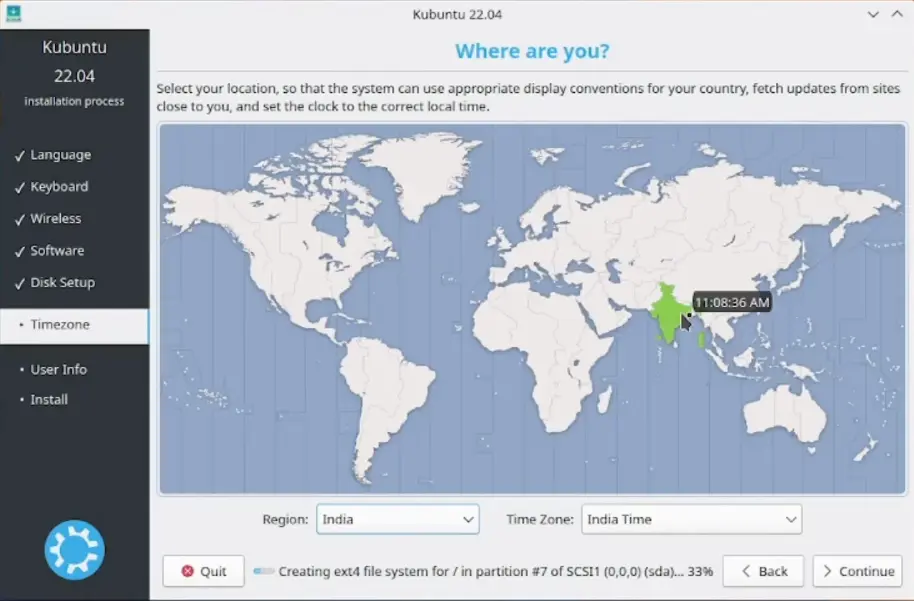
Select your time zone by clicking on the map. Then click on Continue.
Who are you?
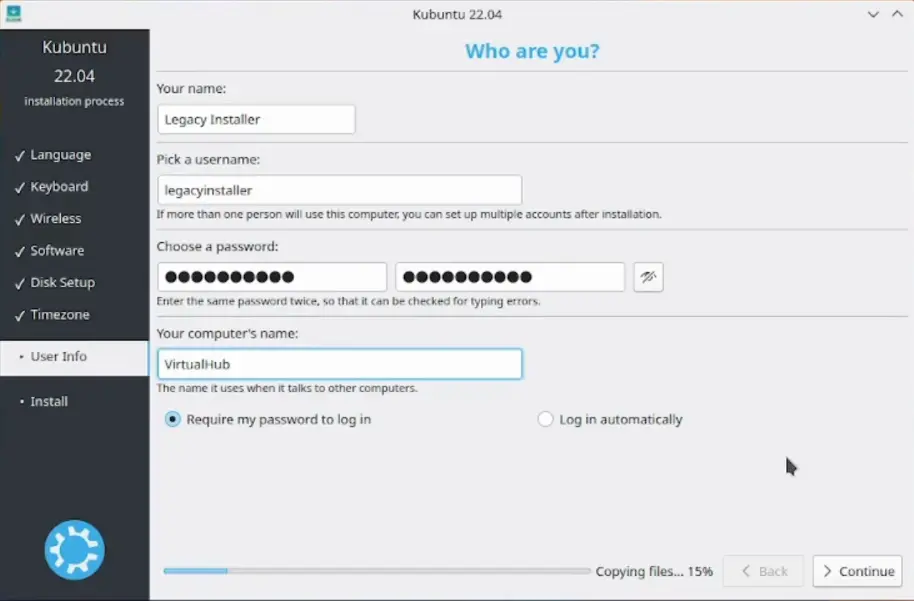
Enter your Name, Username and password. You can also change your computer’s name to anything you like. Your computer will be visible on your local network using that name. Click on Continue. The installation will start.
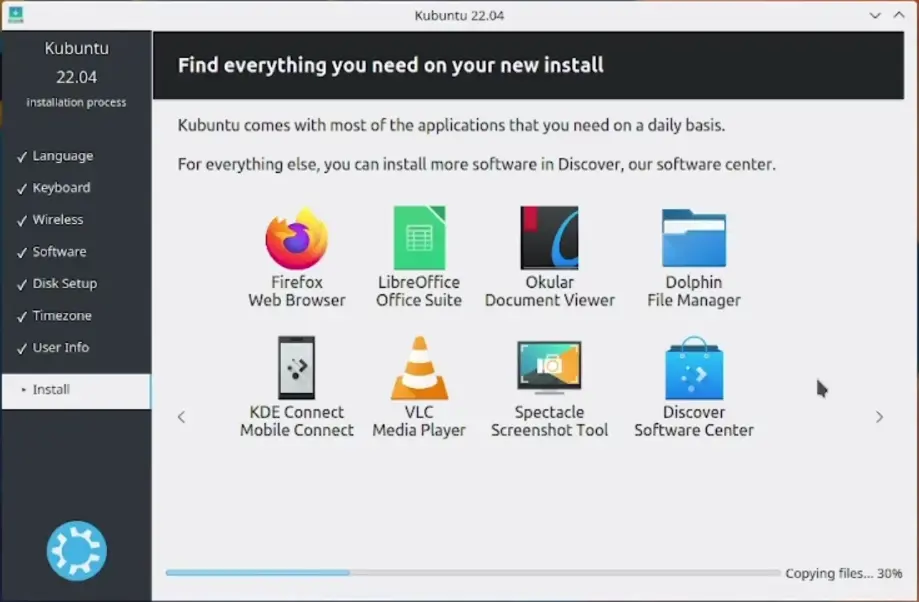
Installation
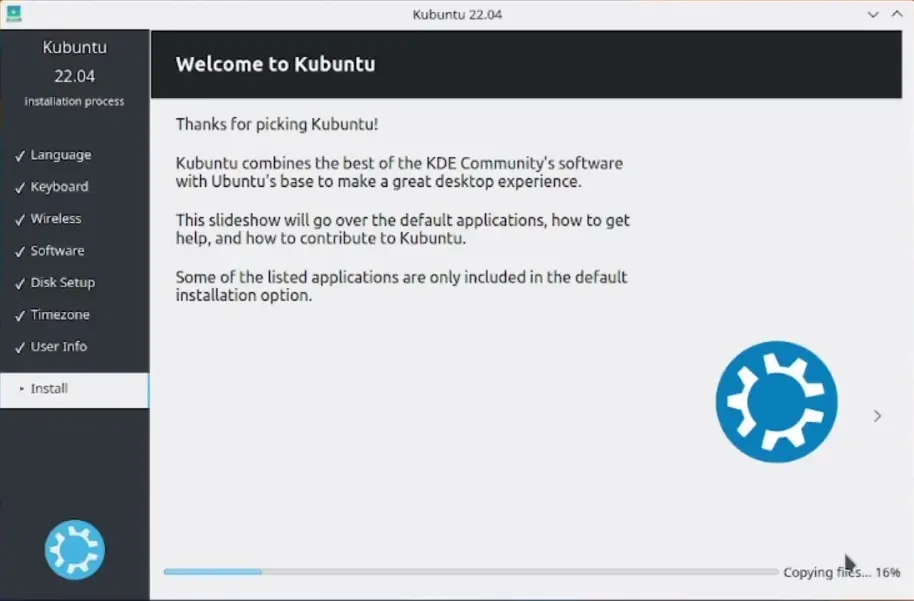
The installation will take a long time, depending on the read and write speed of your pen drive and hard disk. So, sit back and relax.
After your installation is over, click on Reboot. Remove the pen drive when asked to do so. Your system should reboot into a blue-colored screen called “Perform MOK management” or something similar. If Windows starts instead of all this, reboot again and press the boot menu key you pressed last time. Choose Ubuntu from the list. The “Perform MOK management” screen should open.
Perform MOK management
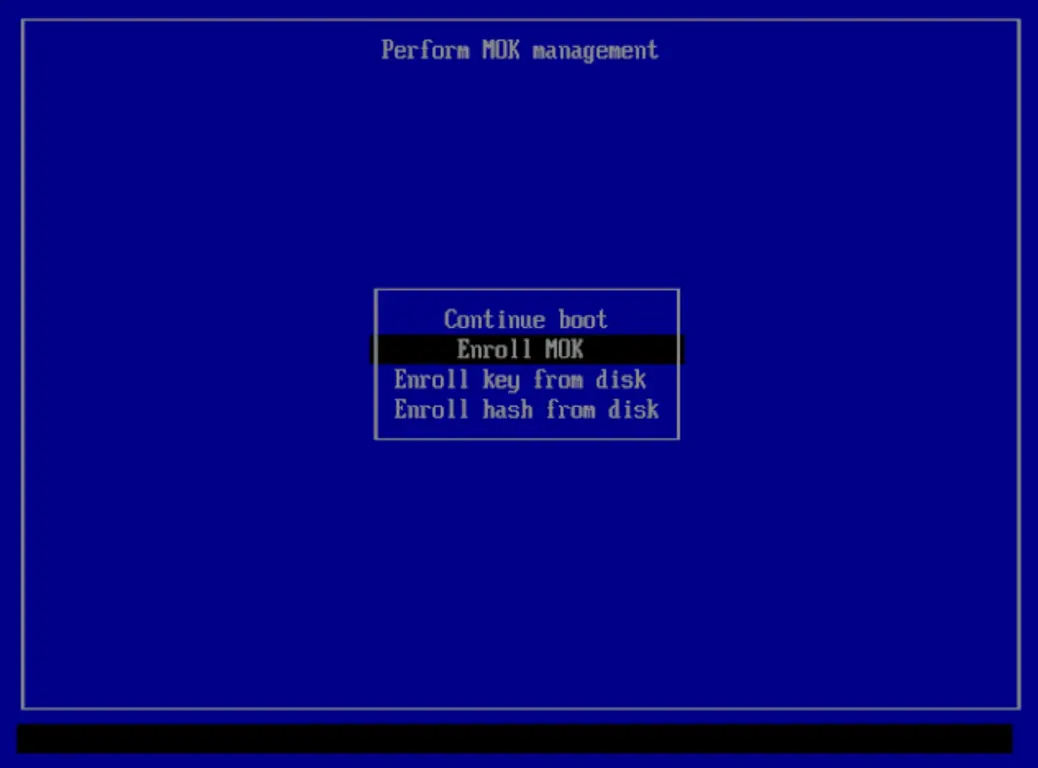
Choose “Enroll MOK key”.
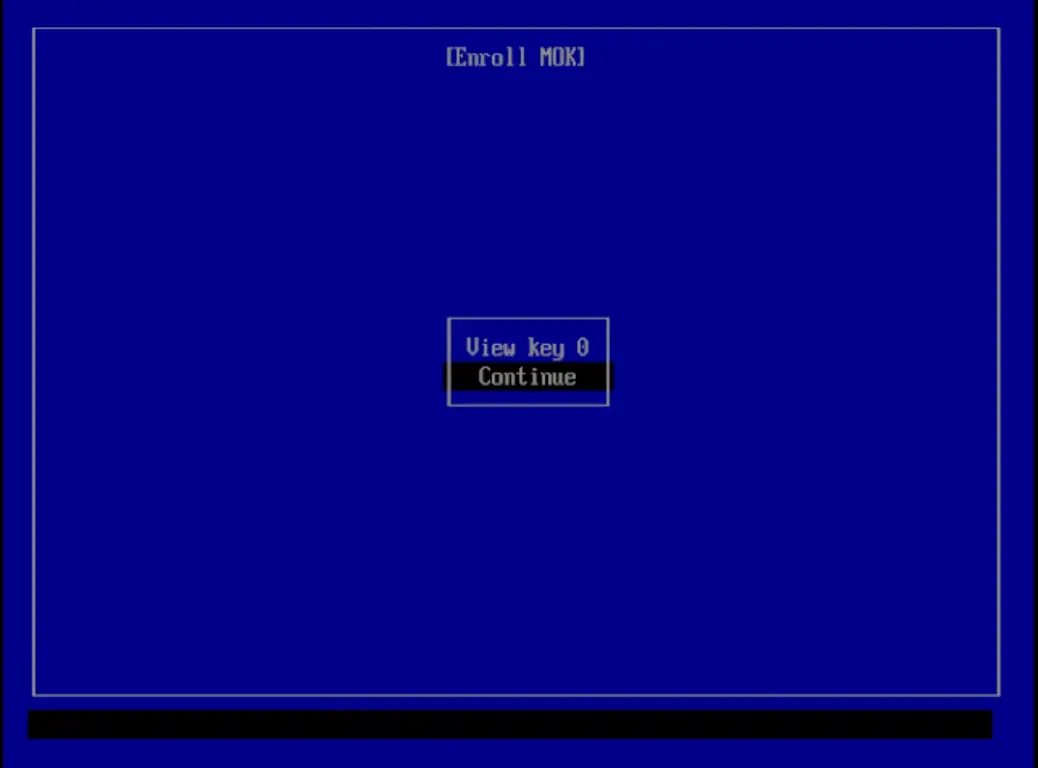
Then choose Continue.
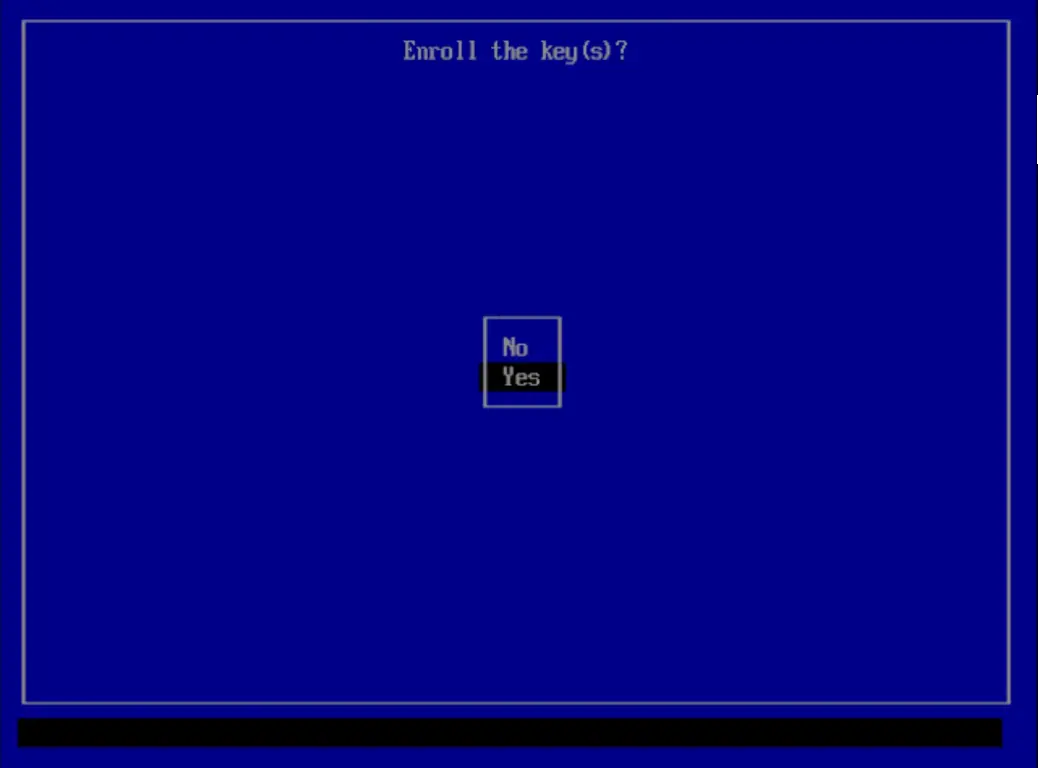
Then choose Yes.
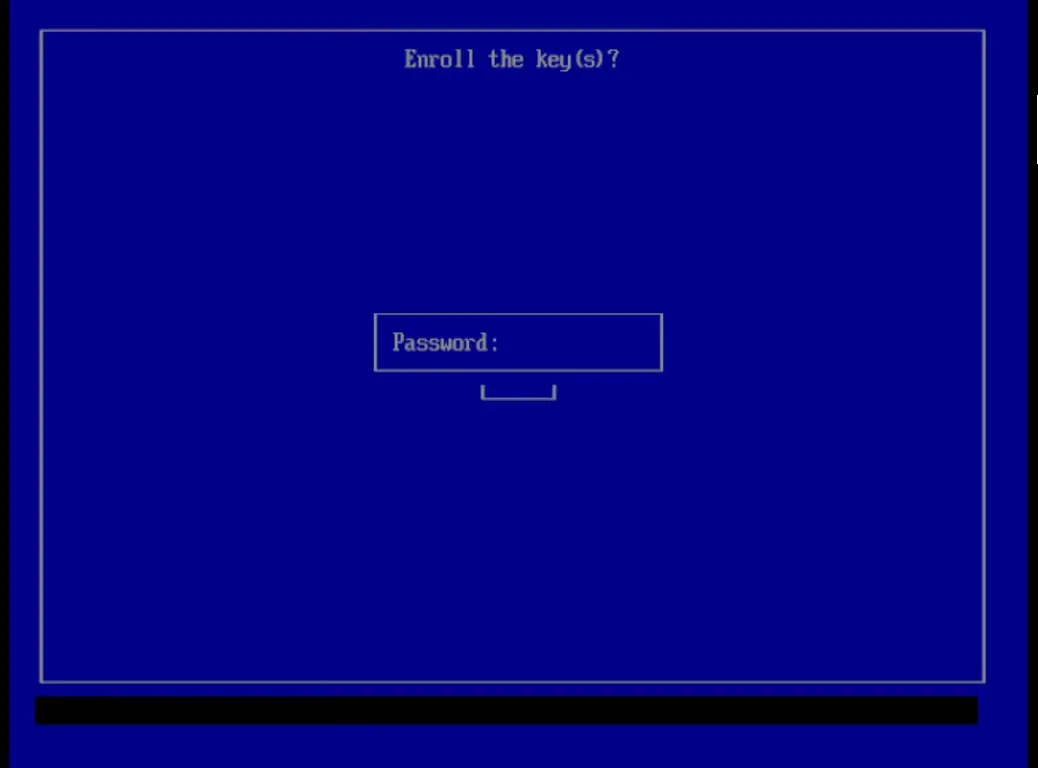
Enter the secure boot configuration password you set earlier, then press enter.
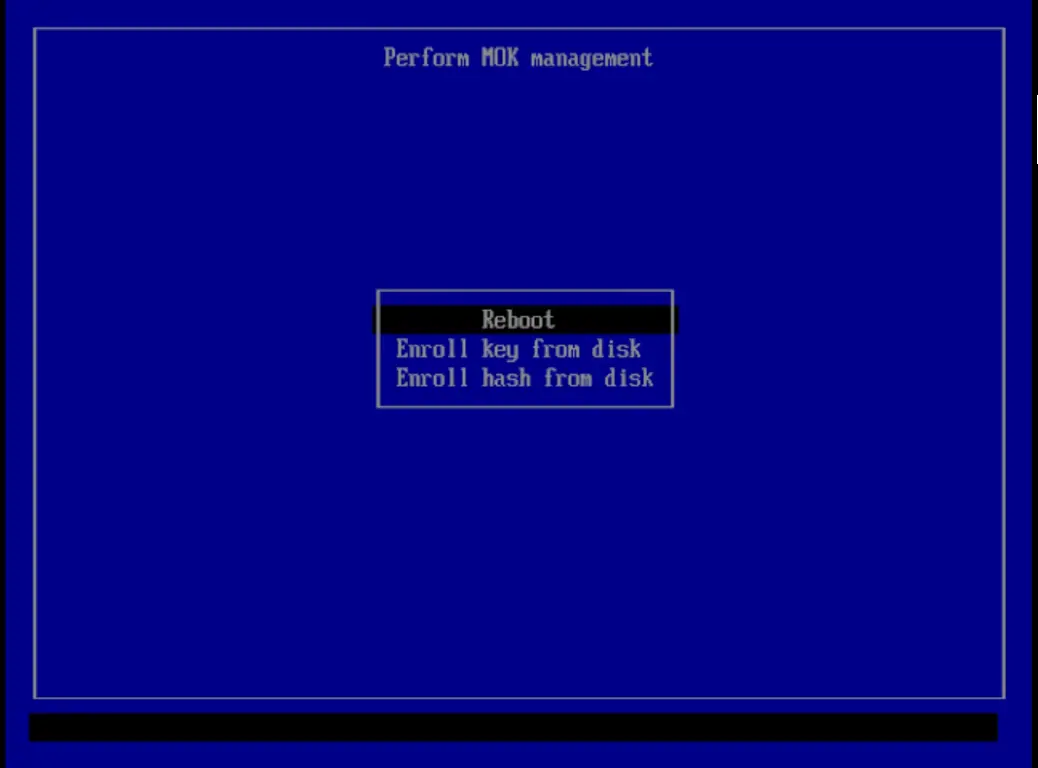
Choose "Reboot" at last. After reboot, Kubuntu should start. If Windows starts instead, reboot again and press the boot menu key and choose Kubuntu. To make Kubuntu start and ask which OS you want to boot, you need to change your boot order. Refer to your device documentation to find how to do so.
After Kubuntu starts, log in using your password. See the next tutorial to learn what to do after installing Kubuntu.
Video tutorial
Do you want to follow the tutorial by watching a video? Here it is:
Archives of this tutorial are available on Wayback Machine.
Tell us about your experience of this page on Discord. Or, just come and chat with us about old software. Join and say “Hi!”:
