! How to install SIMH PDP-8 emulator?
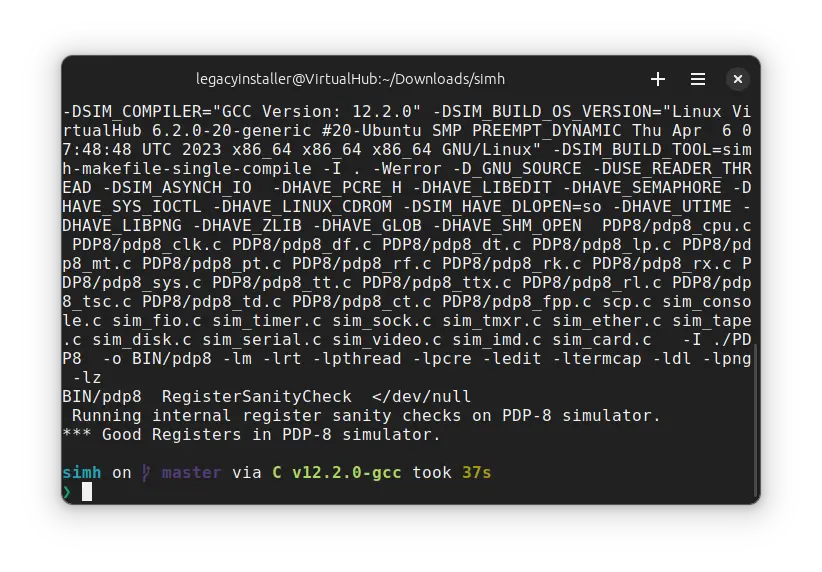
In this tutorial, we will install the SIMH PDP-8 emulator. The PDP-8 was a minicomputer produced by Digital Equipment Corporation as part of the PDP series.
Installing
Linux
Installing from source code
Like other emulators of SIMH family, the recommended way to install it is to compile it from source code. First, we need to install some tools and dependencies to build it. On Ubuntu/Debian based distros, run the following command:
sudo apt install git make gcc libpcre3-dev libedit-dev libpng-dev
On Fedora and related distros, run:
sudo dnf install git which make gcc pcre-devel libedit-devel libpng-devel
On openSUSE and related distros, run:
sudo zypper in git which make gcc pcre-devel libedit-devel libpng16-devel
On Arch based distros, run:
sudo pacman -S git which make gcc pcre libedit libpng
Now, move to the Downloads folder and clone the SIMH repository:
cd ~/Downloads
git clone https://github.com/simh/simh.git
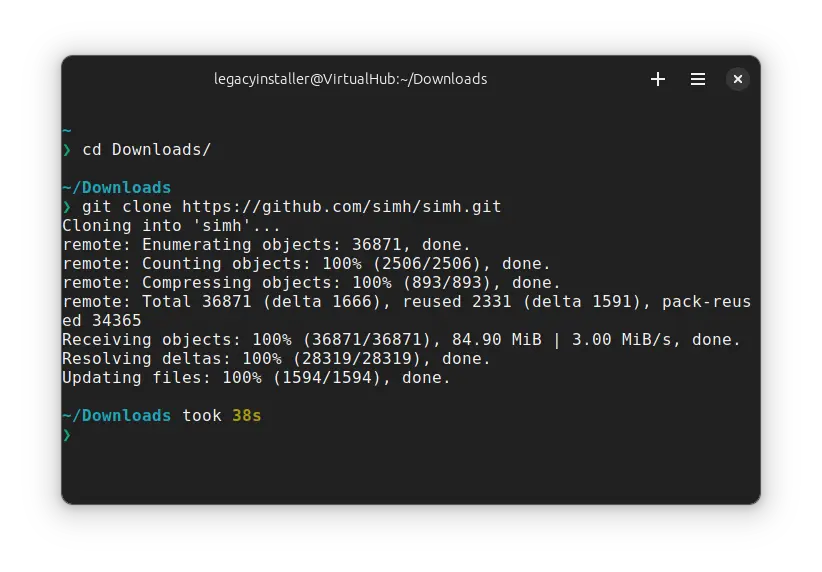
Move to the simh folder:
cd simh
Run the following command to start compiling emulator:
make pdp8
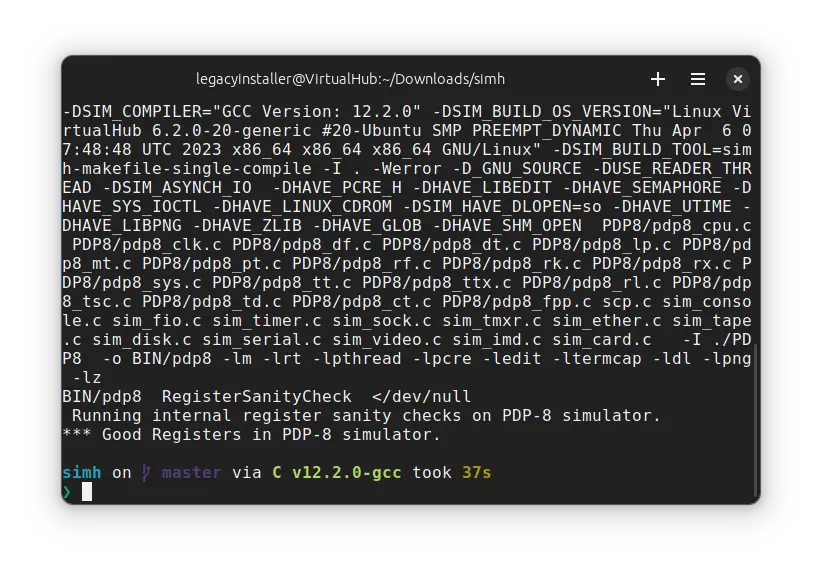
It will take some time to compile, depending on your hardware. When it is done, move to the BIN folder:
cd BIN
We will install the executable in /usr/local/bin so that we can call it without specifying its path:
sudo install pdp8 /usr/local/bin/
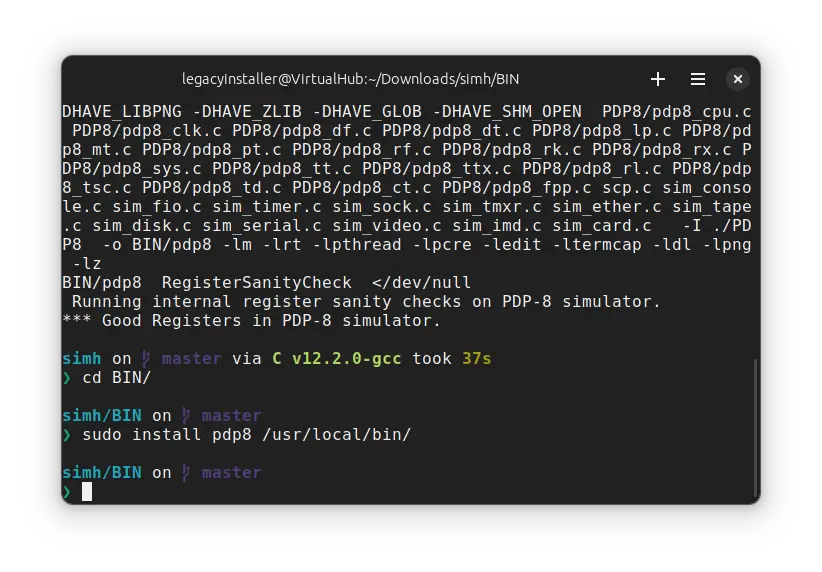
Enter your password when asked to do so.
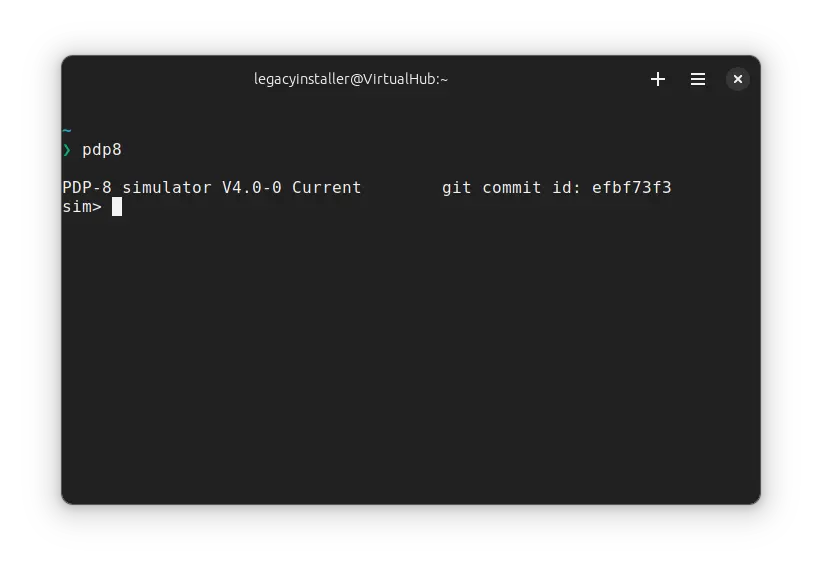
We have installed the SIMH PDP-8 emulator. Now you can start it. Just run this command:
pdp8
Install from distribution repository
Some old versions of SIMH don't read pdp8.ini file directly. If you are facing that problem, use
pdp8 pdp8.ini instead of simply pdp8 when following VirtualHub tutorials.PDP-8 emulator is available in Ubuntu repositories in simh package. You can install it on Ubuntu and any Ubuntu/Debian based system using the following command:
sudo apt install simh
This will prompt you for your password. Enter it. The simh package will install. Now you can run PDP-8 emulator:
pdp8
Many other distributions also package simh. On Fedora based distros, you can run sudo dnf install simh. On openSUSE based distros, it is sudo zypper in simh. For Arch and related distros, you can use sudo pacman -S simh.
These distributions rename the executable in their packages. So you would need to run simh-pdp8 to start the emulator instead of pdp8. Modify the VirtualHub tutorials accordingly if you install it via this method.
simh-git from the AUR. This will install SIMH from the latest git snapshot and is much recommended instead of the regular simh package.Conclusion
That's it. We installed the SIMH PDP-8 emulator. Now you can follow the tutorials on VirtualHub which uses this emulator.
To exit the emulator, type exit and press enter.
Windows
You can download a set of all SIMH emulators from this repository. Extract the archive. Inside, you will find another archive. Extract it. Inside, you will find several executable. Move the file named PDP8.exe to somewhere (if you have added some folder to the PATH environment variable previously, you can move the PDP8.exe file to that folder).
Now add the folder where you moved the PDP8.exe file to the PATH environment variable. To do so, open the Start menu and search for the Edit the system environment variables entry, which opens up a System Properties window. In the Advanced tab, click on the button Environment Variables. There you’ll see User and System variables, which you’ll be able to edit.
In the section entitled User Variables, double-click on the entry that says Path. Another window will pop up showing a list of paths. Click the New button and paste the path to your PDP8.exe executable there. Once that’s inserted, select your newly added path and click the Move Up button until it’s at the top.
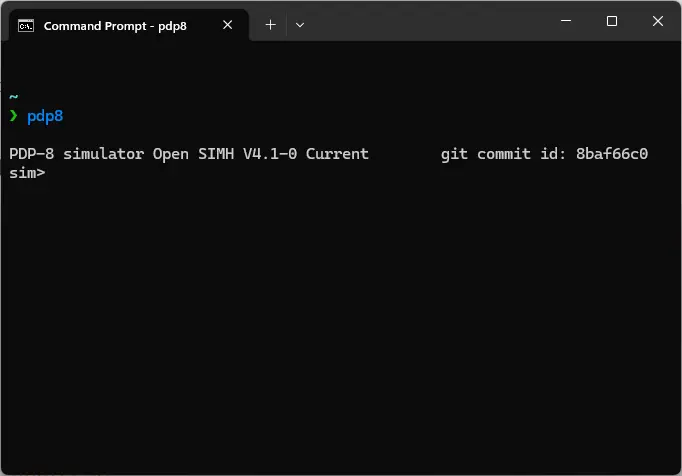
That’s it! You may need to reboot your computer for the changes to take effect, but you should now be able to call pdp8 from the command line:
To exit the emulator, type exit and press enter.
Documentation
.doc format) in the doc folder of the git repo you cloned.Credits
Video tutorial
Do you want to follow the tutorial by watching a video? Here it is:
Archives of this tutorial are available on Wayback Machine.
Tell us about your experience of this page on Discord. Or, just come and chat with us about old software. Join and say “Hi!”:
